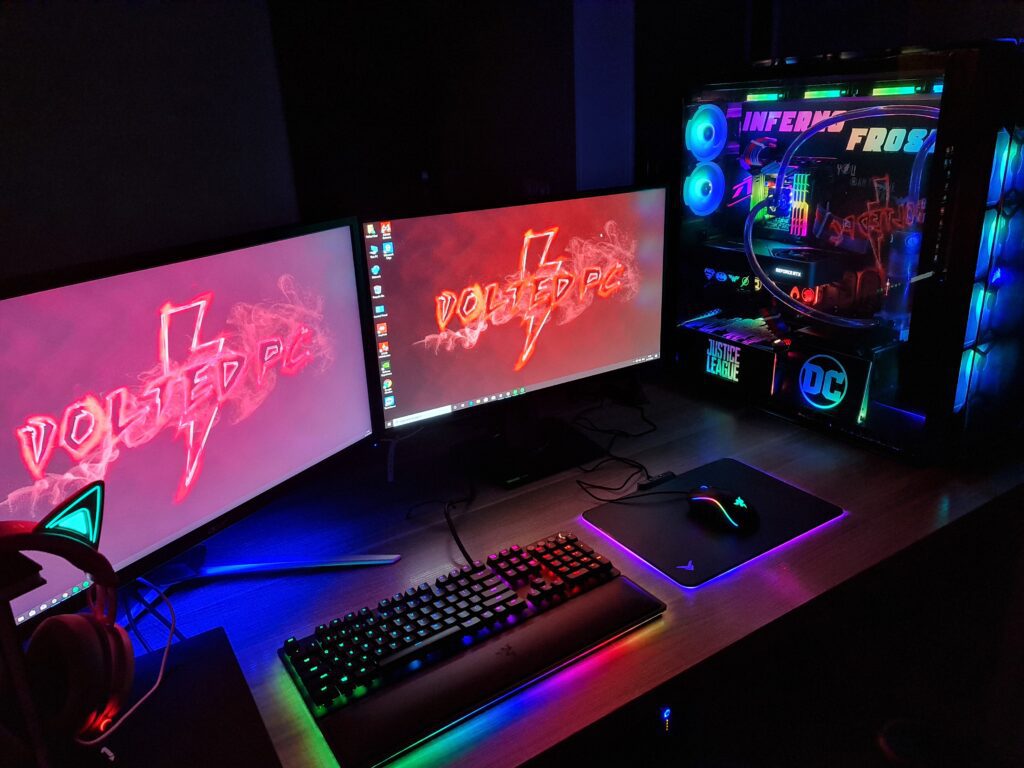
A custom PC build refers to the process of assembling a computer system from individual components according to your specific needs and preferences.

Instead of buying a pre-built computer, building your own allows you to tailor the components to your requirements, ensuring better performance, upgradeability, and cost-effectiveness.
Contents
Selecting the Right Parts for PC Build
When embarking on a PC build, selecting the right components is crucial for achieving the desired performance and functionality. Here are some key considerations for each component:
a) Processor (CPU): Choose a CPU that matches your computing needs, considering factors such as core count, clock speed, and compatibility with your desired motherboard.
b) Motherboard: Ensure compatibility with your chosen CPU and consider factors such as the number of expansion slots, RAM capacity, and connectivity options.
c) Graphics Card (GPU): Select a GPU that meets your graphics processing requirements, whether you’re a gamer, content creator, or professional in need of GPU acceleration.
d) Memory (RAM): Determine the amount of RAM you need based on the applications you’ll be running, with considerations for speed and compatibility with your motherboard.
e) Storage: Decide between traditional hard disk drives (HDDs) and faster solid-state drives (SSDs), considering the capacity and speed requirements for your data storage needs.
f) Power Supply Unit (PSU): Choose a PSU with sufficient wattage to power all your components, while also considering factors like efficiency and modularity.
g) Cooling System: Ensure adequate cooling for your PC, whether through air cooling with fans or liquid cooling solutions, depending on your thermal management requirements.
Assembling the Parts
Once you have all the necessary components, it’s time to put them together. Follow these steps for a successful assembly:
a) Prepare the workspace: Find a clean, static-free area with ample space to work comfortably. Gather the necessary tools, such as a screwdriver and cable ties.
b) Install the CPU: Carefully align the CPU with the socket on the motherboard and secure it according to the manufacturer’s instructions.
c) Install the CPU Cooler: Apply thermal paste on the CPU, then attach the CPU cooler, ensuring proper contact for efficient heat dissipation.
d) Install the RAM: Insert the RAM sticks into the appropriate slots on the motherboard, applying gentle pressure until they snap into place.
e) Mount the Motherboard: Align the motherboard with the standoffs in the case, ensuring proper alignment with the I/O shield. Secure the motherboard using screws.
f) Connect Storage Drives: Connect the storage drives to the appropriate connectors on the motherboard or expansion cards, securing them in drive bays or slots within the case.
g) Install the Graphics Card: Insert the graphics card into the PCIe slot on the motherboard, securing it with screws if necessary. Connect the necessary power cables.
h) Connect Power Supply: Connect the power supply cables to the motherboard, CPU, GPU, storage drives, and other components, ensuring a secure and proper connection.
Final Boot
Before powering up your PC, double-check all connections to ensure everything is properly connected. Once verified, proceed with the following steps:

a) Connect the display: Plug your monitor into the appropriate port on the graphics card.
b) Connect peripherals: Connect your keyboard, mouse, and other peripherals to the appropriate ports.
c) Power on the PC: Press the power button and observe the system as it goes through the boot process.
d) BIOS/UEFI Setup: Access the BIOS or UEFI settings by pressing the designated key during startup. Configure the necessary settings, such as boot order and enabling any desired features.
e) Install the Operating System: Insert the installation media for your chosen operating system (e.g., USB drive or DVD) and
follow the on-screen instructions to install the operating system. Choose the desired installation options, such as partitioning the storage drive and creating user accounts.
After the installation is complete, the system will reboot, and you can proceed to set up your operating system preferences, install drivers for your hardware components, and install any necessary software or applications.
Conclusion
Building your own PC offers numerous benefits, including customization, cost-effectiveness, and the satisfaction of creating a system that meets your specific requirements. By carefully selecting the right components and following proper assembly procedures, you can build a high-performing and reliable computer.
Remember to conduct thorough research, ensuring compatibility between components, and invest in quality parts that suit your needs and budget. Take your time during the assembly process, following the instructions provided by the component manufacturers.
Building a PC may seem intimidating at first, but with patience, attention to detail, and a willingness to learn, you can successfully build a custom PC that caters to your computing needs. Enjoy the experience of creating your own personalized computer and reap the rewards of a system that performs optimally for years to come.

